
Just like charity, cleanliness begins at home, but unfortunately, so does contamination.
Picture a fairly common scenario: you spill some coffee on the floor. Immediately, you reach out for the cloth on the counter and clean it up. Simply fixed, right? Except, you just gave a free ride to the germs on the floor back to your counter and endangered your loved ones’ health.
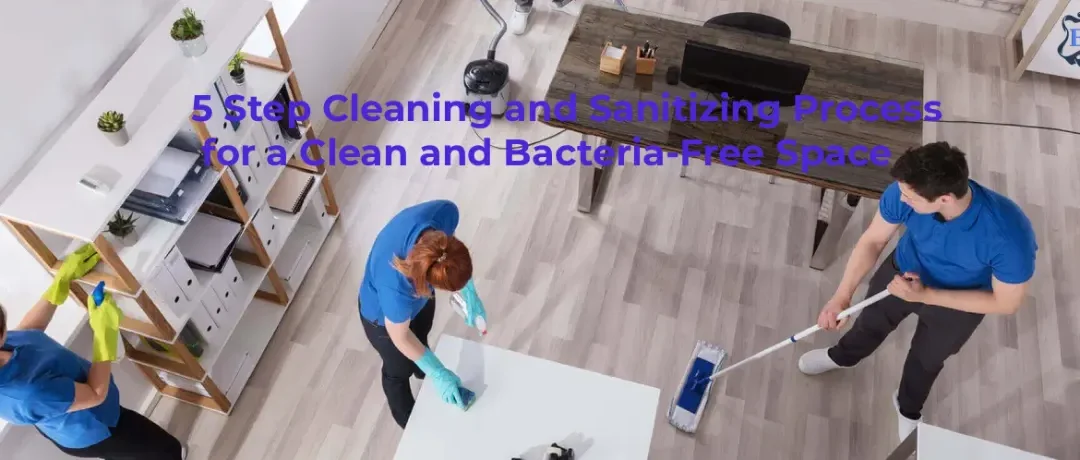
Cleaning and sanitizing are not simple household chores. They are basic survival skills. This is why we have created an easy yet comprehensive guide to a 5-step cleaning and sanitizing process: prepare, wash, rinse, sanitize, and air-dry. At EliteMaidsNY, we ensure to follow these steps to stop germs from spreading while keeping your surfaces safe and ready for use.

Why Is Sanitizing Important?
Sanitizing is a gold standard for hygiene, whether you are cleaning yourself or hiring professionals. If you ensure you regularly sanitize your home, restrooms, kitchens, and workspaces, not only will you be able to stop the germs from spreading, but you will also easily bypass health inspections.
Why is it necessary?
While cleaning, a missed corner or a forgotten damp rag on the counter can become the breeding ground for bacteria and germs within minutes. That not only compromises the health and hygiene standards but also the safety of those around you.
So to make sure you actually follow through, let’s take a look at the basic cleaning supplies you’ll need.
Essential Cleaning Supplies
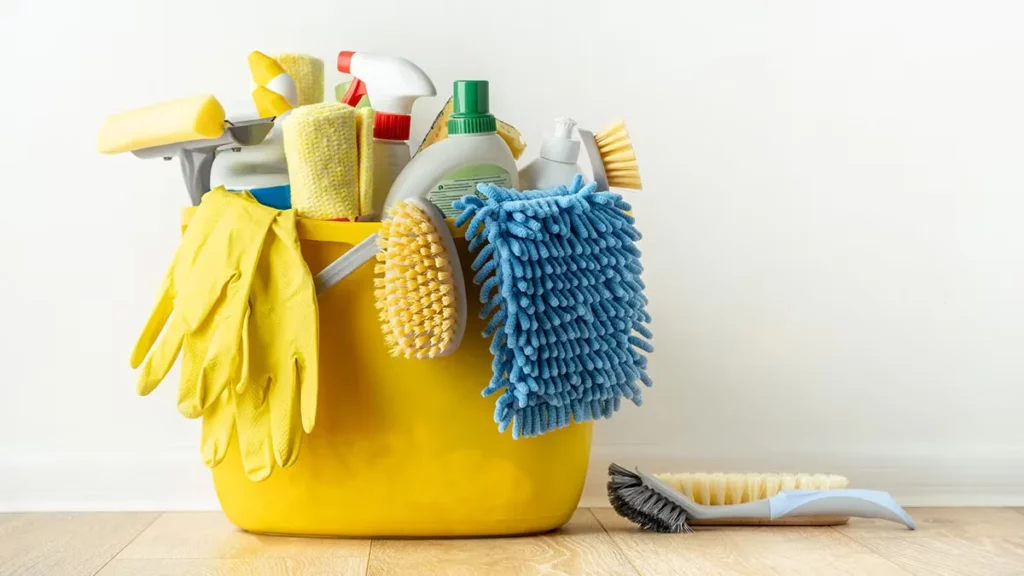
Before you begin, you need to check and arrange the cleaning supplies.
- Cleaning Supplies: Stock up on detergent, sanitizer, brushes, and scrapers
- Personal protective equipment (PPE): You need gloves, goggles, and aprons to keep safe from the harsh chemicals.
- Cleaning Equipment: You’ll need a few mops, sponges, a spray bottle, and preferably a three-compartment sink set up to avoid contamination and mixing up
Make sure to use separate cleaning cloths and sponges for the different tasks. Regularly replace and look for worn-out brushes and replace them before they become infested with bacteria.
The 5 Step Cleaning and Sanitizing Process
For this process, we have designed each step to build on the last one (so don’t even think about skipping any of the steps).
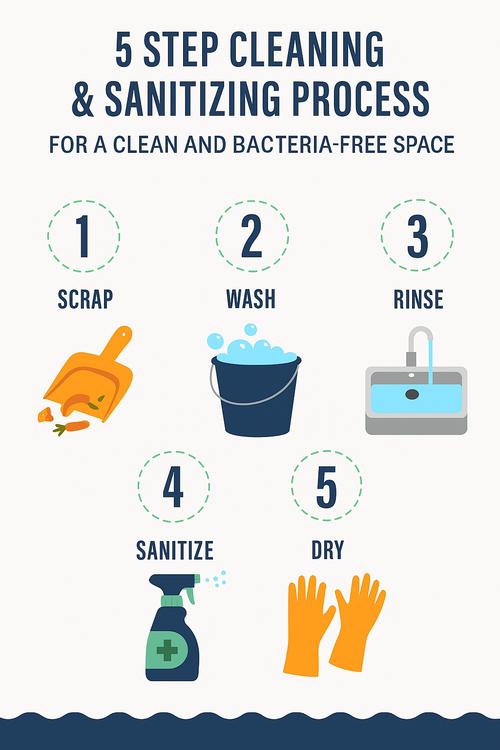
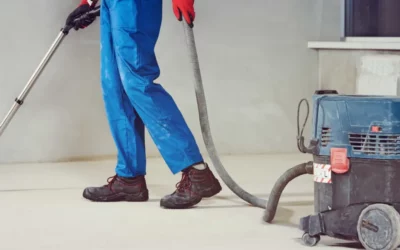
Step 1: Scrap and Prepare the Surface
Go for the obvious stains first. Clean out the visible crumbs, grease, visible spills, and food residue. Use disposable paper towels, scrapers, and cloth to remove each and every stain or crumb you find. Remember, this is a very important step.
You can only sanitize a clean surface. If the grime and residue aren’t removed, the sanitizer cannot reach the germs hiding underneath on the counter, sink, floors, and other surfaces.
If necessary, use a vacuum or brush.
Also, make sure to reach the underside of the equipment and corners and clean them thoroughly.
Step 2: Wash the Surfaces
Now that you have a free surface, you need to get to washing and scrubbing.
But a key point here is not to rush things. Remember, washing sets the stage for rinsing and sanitizing. So make sure you wash everything thoroughly before proceeding to the next steps.
Make a solution of warm, soapy water. Wipe the counterspace, cabinets, and other surfaces with sponges, and the floor with mops.
You can also use food-safe detergent and cleaning solutions. But make sure to make a separate solution for the counter spaces and floors. Of course, never forget your personal protective equipment to avoid contact with hot water and harsh chemicals.
For cleaning the kitchen, your best bet is to follow the three-compartment sink rules. Use it to clean all utensils, pots, containers, and appliance parts. Here’s how to do it:
- Use the first sink to wash the items with detergent and warm water
- The second sink should be used for rinsing with clean water to remove the soap residue
- The third and last sink must be filled with an approved sanitizer, and items must be placed in it to kill off bacteria and germs.
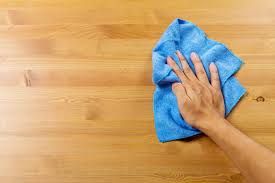
Step 3: Rinse to Remove the Detergent Residues
Now you need to clear away the soapy buildup that’s left after step two. This is a very important step because if you don’t rinse the surfaces, the sanitizer will not work.
So take clean warm water and a clean cloth.
Rinse all the surfaces until there is no soapy smell or suds. The kitchenware and utensils should be washed and rinsed thoroughly with clean water before you finally put them in the sanitizing sink.
Make sure to use only clean clothes. If you use the dirty ones to wipe, you will only be re-spreading the residue and grime. Make sure to change the rinse water between batches of utensils and surfaces to keep things clean.
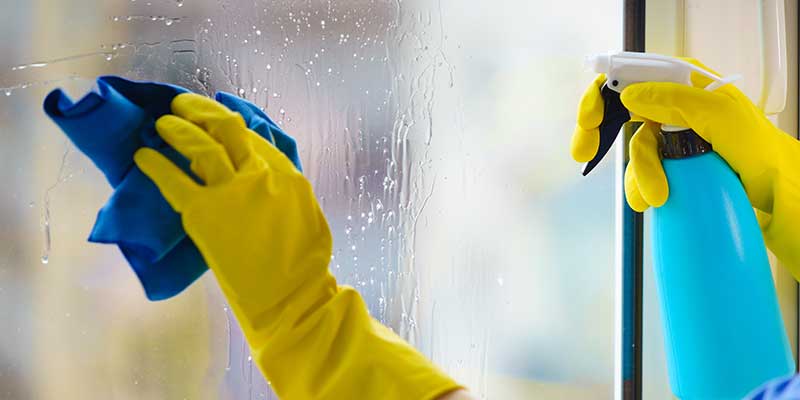
Step 4: Sanitize
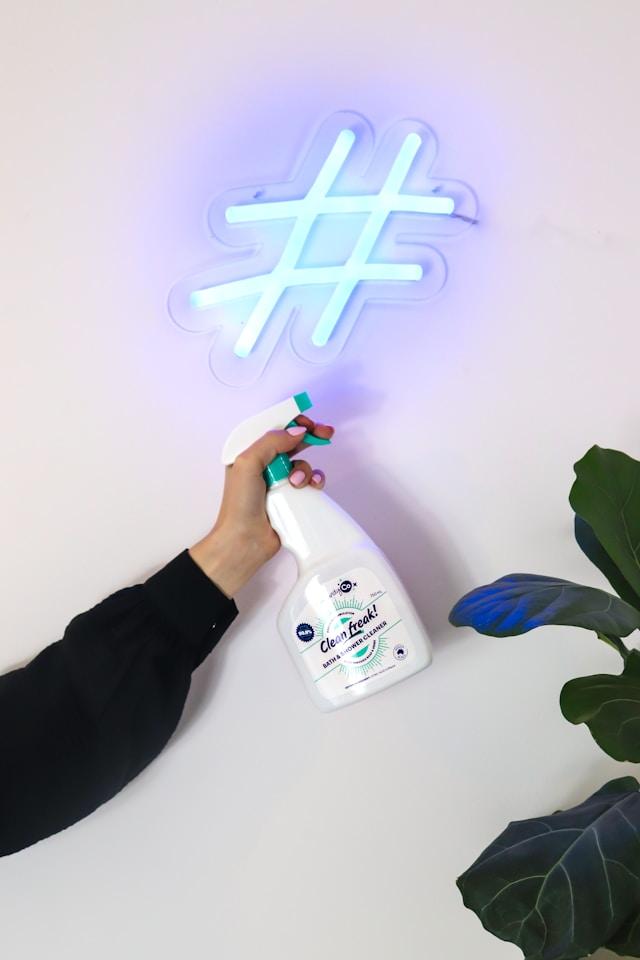
Now that you have a clean and washed surface, you need some sanitizing action. Use approved sanitizing agents. Either get store-bought commercial sanitizer or make a diluted chlorine bleach or an iodine-based solution.
Apply it using a spray bottle, dipping basket, or a clean cloth. But make sure to use the right concentration.
If the sanitizer is too weak, it wouldn’t work. But if it’s too strong, you’ll be putting the health of your loved ones and clients at risk (if it’s a commercial setup).
So your best bet is to follow the label for the concentration and application time. Don’t let it sit for too long, and don’t rinse it off too early.
Make sure to cover all corners and hidden spots.
Step 5: Air Dry
Now that you’ve scrubbed, rinsed, and sanitized, you are almost done. But don’t walk away yet.
The cleaning and sanitizing process is not complete unless the whole place is allowed to air dry.
Do not rush things up by using a towel to do that, as that might lead to a further spread of bacteria. Let things dry naturally.
Depending on the surface and humidity, the process can take as much as 1o to 30 minutes. Larger areas can take about an hour to dry completely.

Conclusion
This 5 step cleaning and sanitizing process is your secret weapon against contamination.
Remember that poor cleaning and sanitizing only invite germs and trouble. It only takes a few neglected crumbs to get you a bad report from a health inspector or worse, a sick client/employee.
So better protect your space and peace of mind, and leave scrubbing to the professionals. Book EliteMaids cleaning services today.
Elite Maids NY related Blog Posts

How to Organize Cleaning Supplies for a Tidy Home
Cleaning can be overwhelming, but the real struggle arises when your supplies are scattered. Discover how to organize cleaning supplies.

What Is Commercial Cleaning Services? Everything You Need to Know
Learn the essentials of commercial cleaning services and why they’re crucial for a professional business environment. Check our Guide!

Living Room Deep Cleaning Checklist Guide – Simple Your Life
Want to clean your living room completely? Simplify your cleaning routine with our essential living room deep cleaning checklist.
How to Clean Construction Dust From Floors -Step-by-Step Guide
Do you have a newly constructed house with dust everywhere? Learn how to clean construction dust from floors to avoid allergies and skin issues.

Easter Cleaning Tips for this Spring Season
Why Easter Cleaning is Worth Doing Let’s be honest: Easter cleaning is always a good idea. It’s...

How to Deep Clean Tile Floor – Complete Guide
Deep cleaning makes any space look great. Read now to learn how to deep clean tile floor with simple yet effective techniques.